What this activity is
Floor finishing includes porcelain / ceramic tile, natural stone, terrazzo, timber, vinyl and other systems. Each responds differently to substrate moisture, movement, adhesive, joint width and maintenance.
Flooring performance is governed by the substrate, movement, moisture, adhesive/bedding system, layout, joint design and protection. The decorative material is only the visible top layer of a multi-layer assembly.
Principles, details, best practice, inspection and maintainability — arranged as a visual technical guide rather than repetitive template sheets.

Material quantity = net area + pattern/cut/wastage allowance; complex stone matching may require significant selection allowance
View details →
Screed, concrete, raised floor or approved underlay
View details →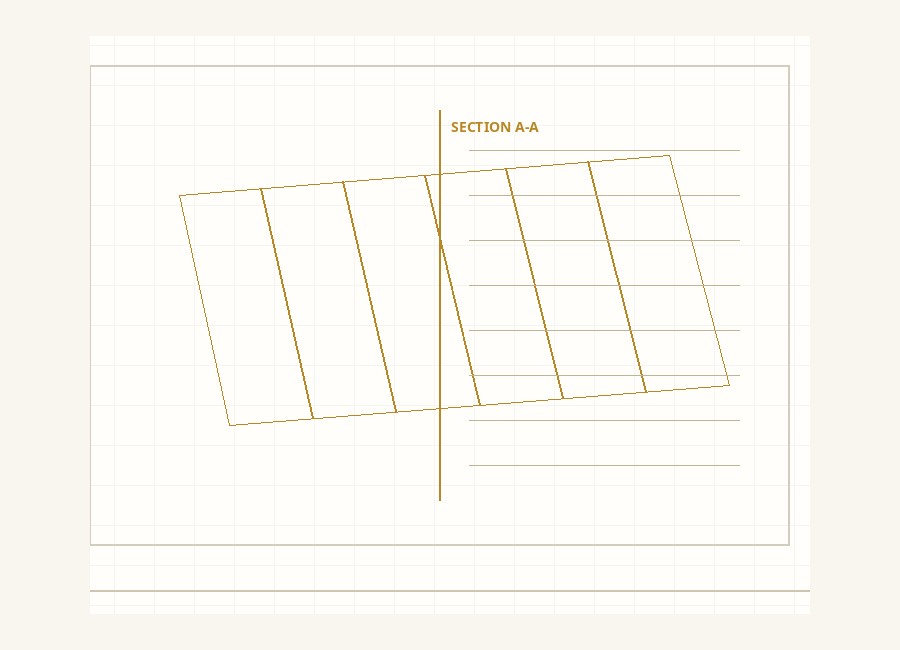
Wet areas and transitions where required
View details →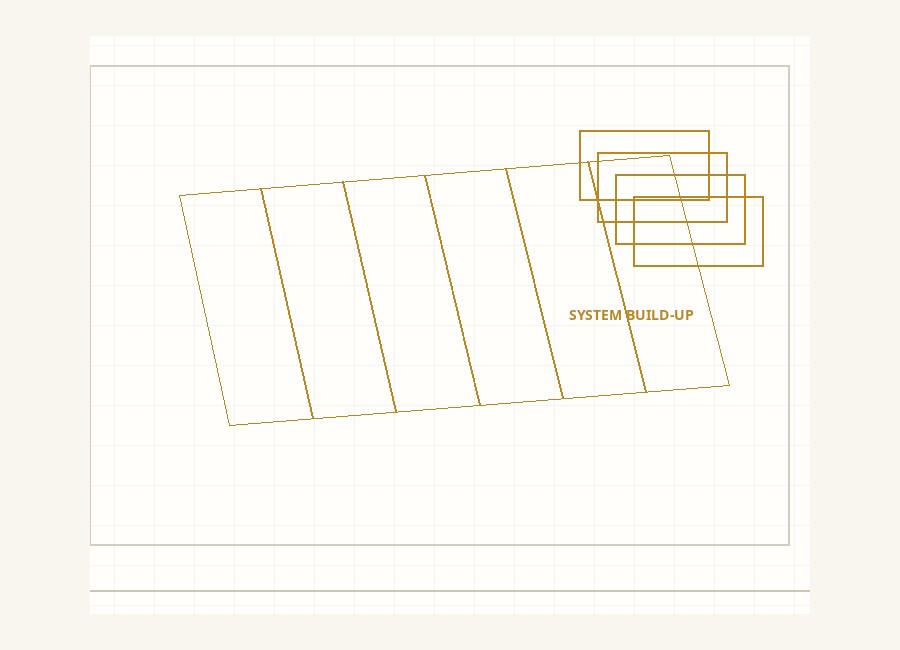
Grid, pattern, cuts, thresholds and feature alignment
View details →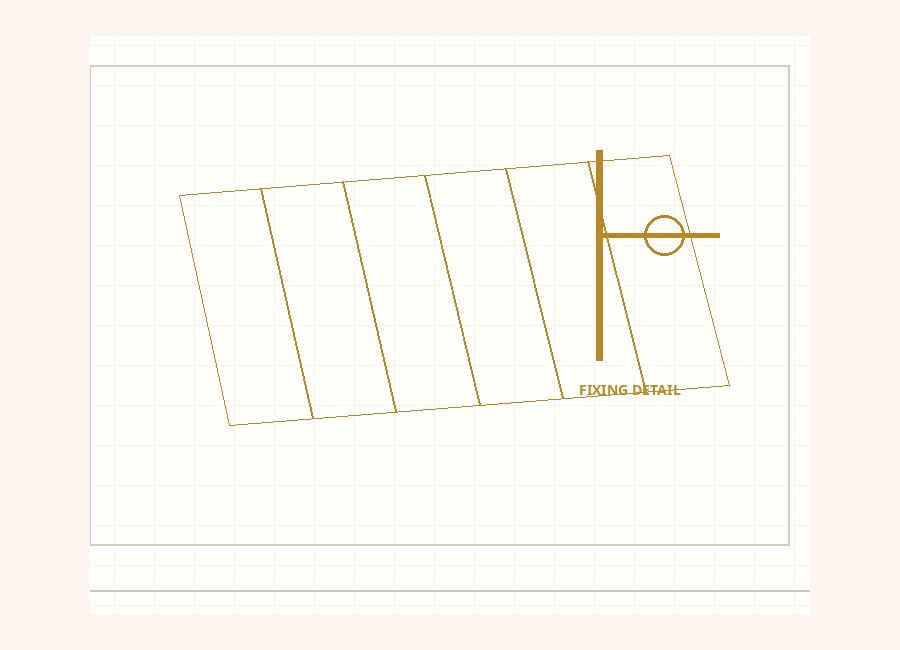
System selected for finish, substrate and exposure
View details →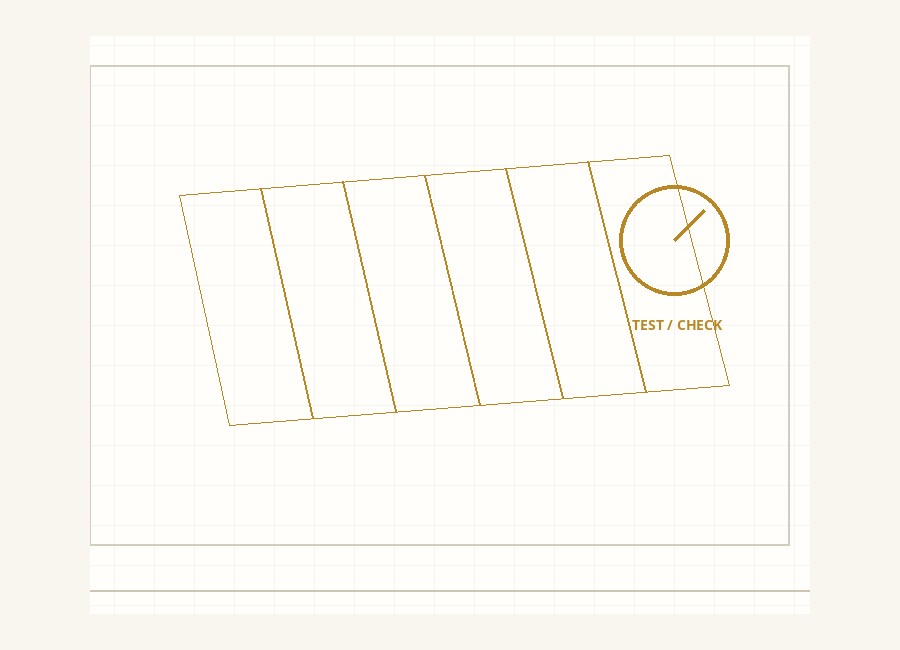
Grout, movement joints and perimeter gaps
View details →
Substrate test / acceptance is documented
View details →
Allow cure, grout correctly and apply sealer where specified
View details →
Tiling over damp / weak / uneven substrate
View details →
Layout matches approved datum and feature lines
View details →
Use pH-appropriate cleaners for stone / grout
View details →
Relevant EN / ISO / ASTM tile, stone, adhesive and test standards referenced by specification
View details →Like a manufacturer technical handbook, the guide starts with performance intent and then moves through components, execution, verification and maintenance.
Floor finishing includes porcelain / ceramic tile, natural stone, terrazzo, timber, vinyl and other systems. Each responds differently to substrate moisture, movement, adhesive, joint width and maintenance.
Expect floor quality to depend on what is underneath. Levels, flatness, moisture, waterproofing, movement joints and falls must be accepted before expensive finishes are laid. Layout should be agreed from key sightlines and thresholds, not simply started from the nearest wall.
Engineering is easier to remember when the principle is read beside the detail. These notes connect the formula or physical behaviour to the relevant project sketch.

Material quantity = net area + pattern/cut/wastage allowance; complex stone matching may require significant selection allowance

Floor fall (%) = drop/run × 100

Adhesive coverage is an installed performance requirement, not only trowel-notch appearance; verify transfer where required
Large-format tiles amplify substrate flatness errors. Correct the substrate before installation rather than attempting to compensate with uncontrolled adhesive thickness.
Natural stone can be moisture- and stain-sensitive. Adhesive chemistry, back-coating, sealing and cleaning products should be proven with the selected stone.
Movement joints in the substrate or building cannot simply be tiled over; the finish system must accommodate the designed movement path.
Each stage now uses a discipline-specific engineering illustration. The original 304-library sheets remain available in the technical drawing reader below.
01Substrate acceptance
 02Layout approval
 03Preparation
04Installation
05Grouting / sealing
06Protection / handover
03Preparation
04Installation
05Grouting / sealing
06Protection / handover
 STAGE 01 · OPEN ORIGINAL 304-LIBRARY PLATE ↗
Check level, flatness, strength, moisture and waterproofing
Verify substrate tolerance before fixing large-format tiles
Substrate test / acceptance is documented
Use movement joints—do not grout across structural / designed movement
Tiling over damp / weak / uneven substrate
Use pH-appropriate cleaners for stone / grout
 STAGE 02 · OPEN ORIGINAL 304-LIBRARY PLATE ↗
Set datum / grid, feature lines, thresholds and cut strategy
Test sensitive substrates before timber / resilient systems
Layout matches approved datum and feature lines
Back-butter large-format tile where required for coverage
Starting layout without checking room geometry and thresholds
Re-seal porous stone where the selected system requires it
 STAGE 03 · OPEN ORIGINAL 304-LIBRARY PLATE ↗
Prime / level / waterproof / decouple as required by system
Use adhesive method that achieves required bedding coverage for location / tile type
Adhesive coverage and jointing are appropriate
Check stone compatibility with adhesive / sealer to avoid staining
Poor adhesive coverage creating hollow areas
Replace failed movement-joint sealant before water penetrates
 STAGE 04 · OPEN ORIGINAL 304-LIBRARY PLATE ↗
Apply approved adhesive / bedding and place finish with controlled jointing
Follow tile calibration, movement and design requirements
Falls drain correctly without ponding
Maintain drain falls and threshold levels throughout installation
Ignoring movement joints
Avoid dragging heavy furniture across finished floors
 STAGE 05 · OPEN ORIGINAL 304-LIBRARY PLATE ↗
Allow cure, grout correctly and apply sealer where specified
Verify wet-area gradient before and after tiling
Movement joints are maintained through finish
Protect completed floors with non-staining breathable protection
Using acidic cleaners on acid-sensitive stone
Keep spare material labelled by area / batch
 STAGE 06 · OPEN ORIGINAL 304-LIBRARY PLATE ↗
Clean appropriately, protect from following trades and issue maintenance guidance
Dry-lay / blend natural stone where variation is expected
Surface is clean, protected and free from lippage / damage beyond accepted tolerance
Retain spare tiles / stone from the same batch / selection
Sealing moisture under impermeable protection too early
Investigate loose / hollow areas before they expand
Every chapter uses the matching discipline drawing. The article shows a focused crop for readability; clicking it opens the complete branded original sheet.
SUB-ACTIVITY 01 · Substrate · OPEN FULL PLATE ↗Screed, concrete, raised floor or approved underlay
Screed, concrete, raised floor or approved underlay Read the drawing as a coordination reference: identify the system build-up, interfaces, supports, access points and adjoining work before approving the detail for construction.
Verify substrate tolerance before fixing large-format tiles
Substrate test / acceptance is documented
Use movement joints—do not grout across structural / designed movement
Use pH-appropriate cleaners for stone / grout
SUB-ACTIVITY 02 · Waterproofing · OPEN FULL PLATE ↗Wet areas and transitions where required
Wet areas and transitions where required Read the drawing as a coordination reference: identify the system build-up, interfaces, supports, access points and adjoining work before approving the detail for construction.
Test sensitive substrates before timber / resilient systems
Layout matches approved datum and feature lines
Back-butter large-format tile where required for coverage
Re-seal porous stone where the selected system requires it
SUB-ACTIVITY 03 · Layout · OPEN FULL PLATE ↗Grid, pattern, cuts, thresholds and feature alignment
Grid, pattern, cuts, thresholds and feature alignment Read the drawing as a coordination reference: identify the system build-up, interfaces, supports, access points and adjoining work before approving the detail for construction.
Use adhesive method that achieves required bedding coverage for location / tile type
Adhesive coverage and jointing are appropriate
Check stone compatibility with adhesive / sealer to avoid staining
Replace failed movement-joint sealant before water penetrates
 SUB-ACTIVITY 04 · Adhesive / bedding · OPEN FULL PLATE ↗
System selected for finish, substrate and exposure
System selected for finish, substrate and exposure Read the drawing as a coordination reference: identify the system build-up, interfaces, supports, access points and adjoining work before approving the detail for construction.
Follow tile calibration, movement and design requirements
Falls drain correctly without ponding
Maintain drain falls and threshold levels throughout installation
Avoid dragging heavy furniture across finished floors
 SUB-ACTIVITY 05 · Joints · OPEN FULL PLATE ↗
Grout, movement joints and perimeter gaps
Grout, movement joints and perimeter gaps Read the drawing as a coordination reference: identify the system build-up, interfaces, supports, access points and adjoining work before approving the detail for construction.
Verify wet-area gradient before and after tiling
Movement joints are maintained through finish
Protect completed floors with non-staining breathable protection
Keep spare material labelled by area / batch
 SUB-ACTIVITY 06 · Stone treatment · OPEN FULL PLATE ↗
Sealer, back treatment and stain control where required
Sealer, back treatment and stain control where required Read the drawing as a coordination reference: identify the system build-up, interfaces, supports, access points and adjoining work before approving the detail for construction.
Dry-lay / blend natural stone where variation is expected
Surface is clean, protected and free from lippage / damage beyond accepted tolerance
Retain spare tiles / stone from the same batch / selection
Investigate loose / hollow areas before they expand
 SUB-ACTIVITY 07 · Transitions · OPEN FULL PLATE ↗
Profiles between materials / levels
Profiles between materials / levels Read the drawing as a coordination reference: identify the system build-up, interfaces, supports, access points and adjoining work before approving the detail for construction.
Carry required substrate / building movement joints through finish system
Substrate test / acceptance is documented
Use movement joints—do not grout across structural / designed movement
Use pH-appropriate cleaners for stone / grout
 SUB-ACTIVITY 08 · Protection · OPEN FULL PLATE ↗
Cover finished floor without trapping damaging moisture
Cover finished floor without trapping damaging moisture Read the drawing as a coordination reference: identify the system build-up, interfaces, supports, access points and adjoining work before approving the detail for construction.
Resolve finished levels and door clearances before installation
Layout matches approved datum and feature lines
Back-butter large-format tile where required for coverage
Re-seal porous stone where the selected system requires it
These are reference frameworks. The latest approved project specification, authority requirement, tested system and manufacturer literature govern the actual installation.
• Relevant EN / ISO / ASTM tile, stone, adhesive and test standards referenced by specification
• Manufacturer adhesive / grout / waterproofing system requirements
• Project slip-resistance requirement appropriate to location
• Natural-stone supplier recommendations for sealing and compatibility
• Structural / screed movement-joint requirements
• Approved mock-up / control sample and workmanship tolerance
× Tiling over damp / weak / uneven substrate
× Starting layout without checking room geometry and thresholds
× Poor adhesive coverage creating hollow areas
× Ignoring movement joints
× Using acidic cleaners on acid-sensitive stone
× Sealing moisture under impermeable protection too early
✓ Use pH-appropriate cleaners for stone / grout
✓ Re-seal porous stone where the selected system requires it
✓ Replace failed movement-joint sealant before water penetrates
✓ Avoid dragging heavy furniture across finished floors
✓ Keep spare material labelled by area / batch
✓ Investigate loose / hollow areas before they expand
These are the actual 304-library files supplied for the website. Click any plate for the in-page drawing reader.
No contractor/competitor reference links are published in this section.